
The Grilling Fix That Finally Ended My Dry Pork Chop Streak
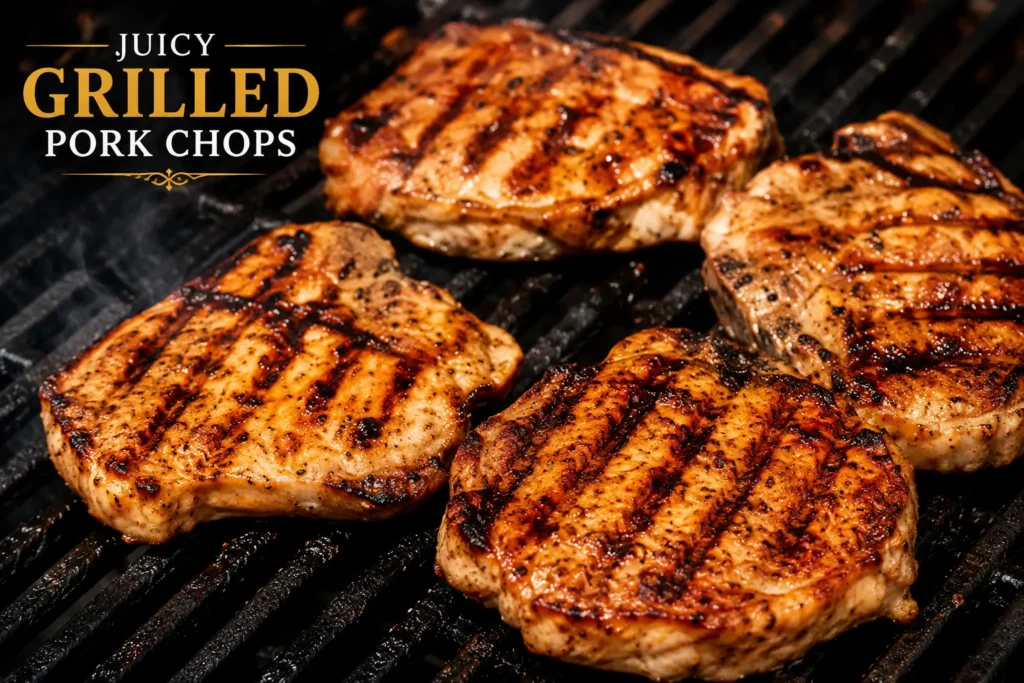
Pork chops carry a reputation problem, and it’s usually earned honestly — most people have eaten at least one tough, overcooked chop that took real effort to chew through. The meat itself isn’t the issue. It’s almost always heat management, timing, or the wrong cut to begin with.
Handled correctly, pork chops turn out genuinely tender, smoky, and satisfying enough that you’ll actually reach for seconds. The whole thing comes down to understanding moisture — too much heat for too long pushes the natural juices out, leaving you with dry protein and not much flavor. The goal instead is building a flavorful exterior while keeping everything inside intact.
Here’s exactly how I make them.
Choosing the Right Chops
Bone-in chops hold onto moisture longer during cooking — the bone acts as a natural buffer that helps protect the meat from drying out. Boneless chops cook faster and are easier to serve, and they take a dry rub beautifully since seasoning can reach the entire surface. Whichever you choose, thickness matters more than the bone: aim for chops at least 1 to 1.5 inches thick. Thicker cuts give you more margin for error — they develop a good crust while the interior stays juicy. Thin chops, on the other hand, can go from perfect to overcooked in a matter of seconds.
What You’ll Need
For the pork chops:
- 4 thick-cut pork chops (1–1.5 inches thick)
- 2 tablespoons olive oil
- 1 teaspoon kosher salt
- 1 teaspoon black pepper
- 1 teaspoon garlic powder
- 1 teaspoon onion powder
- 1 teaspoon smoked paprika
For the BBQ glaze:
- 1 cup barbecue sauce
- 1 tablespoon honey
- 1 tablespoon brown sugar
- 1 teaspoon apple cider vinegar
- 1 teaspoon Worcestershire sauce
How to Make Them
1. Build the dry rub.
Combine the smoked paprika, garlic powder, onion powder, black pepper, and kosher salt, then massage the mixture thoroughly into both sides of the chops. Don’t rush this — a few extra minutes here pays off noticeably in the final flavor.
2. Let the chops come to temperature.
Pull them from the fridge about 20–30 minutes before grilling. Cold meat hitting a hot grill cooks unevenly, and letting the chops warm slightly helps everything cook more consistently. It’s an easy step to skip, and skipping it is a common reason results vary from one cookout to the next.
3. Prep the grill.
Preheat to medium-high, roughly 400–450°F. Clean the grates thoroughly, then lightly oil them — sticking tears away the crust you just spent time building, and nobody wants seasoned pork left behind on the grate.
4. Grill the chops.
Place them directly over the heat. Thinner chops need about 4–5 minutes per side; thicker ones need 6–8 minutes per side. Resist the urge to flip constantly — let the grill do its work, and remember that every time you lift the lid, you’re losing heat that was helping the cooking process. Look for grill marks and light caramelization around the edges as your cue.
5. Apply the glaze.
In the final few minutes of cooking, brush the chops generously with the barbecue glaze. This is where the transformation really happens — the sugars caramelize, the sauce thickens, and the exterior develops that glossy finish people associate with real barbecue. Add extra layers if you want more flavor; there’s rarely a complaint about too much barbecue sauce.
6. Check the internal temperature.
Use an instant-read thermometer and pull the chops the moment they hit 145°F (63°C). Cooking “just to be safe” past that point is exactly how juicy pork turns into dry pork — trust the thermometer over instinct.
7. Rest before serving.
Let the chops rest for 5–10 minutes before cutting. This is the step people skip most often, and it matters — resting lets the juices redistribute through the meat instead of spilling out onto the cutting board the second you slice in.
Key Principles for Consistent Results
Start with thick chops, since they’re more forgiving. Never skip the thermometer — guessing is where inconsistency creeps in. Always rest the meat. Season generously and early, since flavor starts before the chops ever touch the grill. And for extra-thick cuts, consider searing over direct heat first, then finishing over indirect heat to avoid a charred exterior with an underdone center.
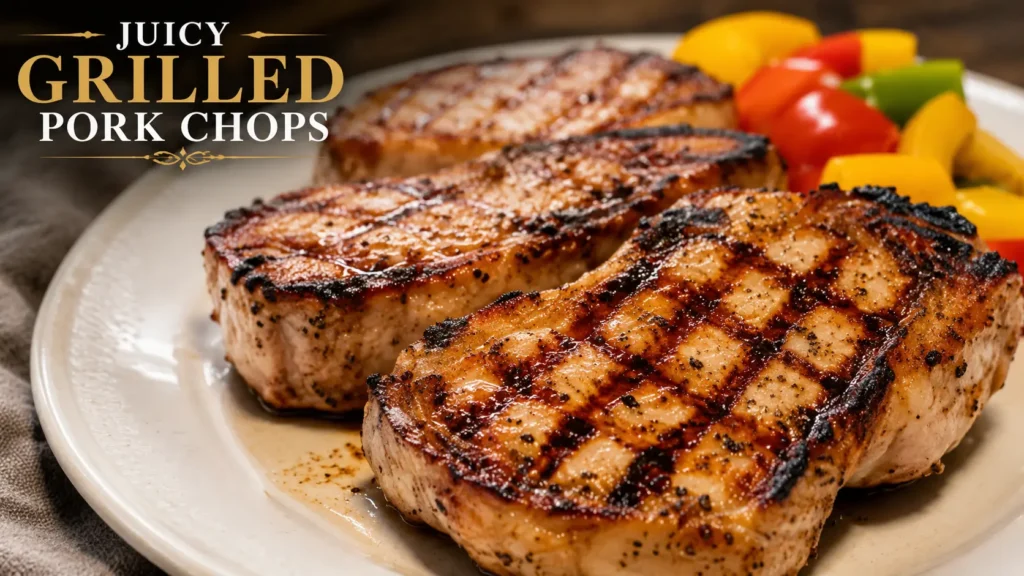
Making Them on a Flat-Top Grill
A Blackstone or similar flat-top works just as well. Preheat to medium-high, add a thin layer of oil, and place the seasoned chops directly on the griddle. Cook 5–7 minutes per side, brushing with the glaze near the end, and pull once they hit 145°F internally. Let them rest before serving. The flat surface contact creates excellent caramelization — often more than people expect from a griddle.
Common Mistakes to Avoid
Using thin chops that dry out too quickly. Applying sauce too early, which can cause it to burn before the meat’s even done. Flipping constantly instead of letting a crust form. Skipping the thermometer. And starting straight from the fridge, which almost guarantees uneven cooking. Most grilling problems, it turns out, can be solved before the meat even touches the grate.
What to Serve Alongside
Grilled corn on the cob, roasted garlic potatoes, baked beans, creamy coleslaw, mac and cheese, grilled asparagus, sweet potato wedges, or a simple cucumber salad all pair well and add contrasting textures to the plate.
Looking for another easy dinner idea? My Easy Oven Baked Salmon Recipe delivers a healthy, high-protein meal with fresh lemon and garlic flavors. If you prefer a bowl-style meal, try my 20-Minute Miso Sesame Chicken Bowl, packed with fresh vegetables, rice, and a bold miso sesame dressing.
Storage and Reheating
Store leftovers in an airtight container for up to 4 days. Reheat in the oven at 300°F for 10–15 minutes, in an air fryer at 350°F for 4–5 minutes, or in the microwave on a lower power setting to preserve moisture. A small brush of extra barbecue sauce before reheating helps keep things tender — and leftover pork chops often taste even better the next day, once the flavors have had time to settle.
Why This Actually Works
Mastering juicy grilled pork chops isn’t about fancy technique or expensive gear — it comes down to understanding heat, timing, seasoning, and moisture. Choose a thick cut, season with confidence, watch the temperature closely, and let the meat rest. Once you’ve had a genuinely juicy chop off the grill, it’s hard to settle for anything less again.