
The Cake That Made Me Stop Being Intimidated by Layer Cakes
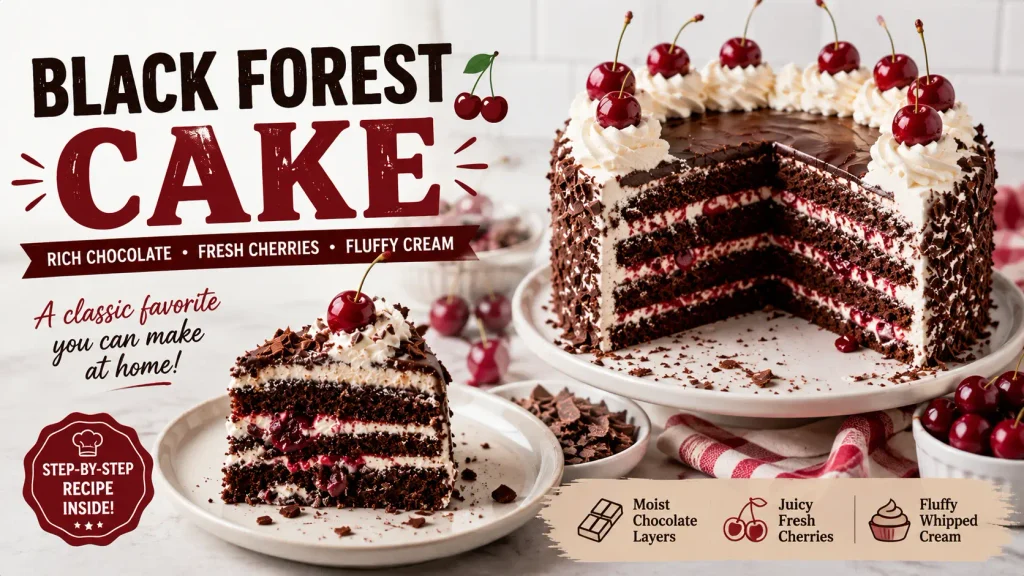
Black Forest cake has always had a reputation for looking harder than it is — tall layers, dark chocolate, glossy cherries, clouds of whipped cream. It looks like something you’d only attempt with a professional pastry background. It isn’t. Once you understand the logic behind each layer, it comes together with far more confidence than the finished result suggests.
The name comes from Germany’s Black Forest region, home of kirsch, the cherry brandy traditionally used to flavor it. What makes this cake work isn’t complexity — it’s balance: rich chocolate sponge, sweet-tart cherries, and impossibly light whipped cream frosting, stacked so each bite hits all three at once. Here’s exactly how I make it.
What You’ll Need (makes one 8-inch, 4-layer cake, serves 12)
For the chocolate cake:
- 2¼ cups all-purpose flour
- 2 cups granulated sugar
- 1½ teaspoons baking powder
- 1 teaspoon baking soda
- ½ teaspoon salt
- ½ cup unsweetened Dutch-process cocoa powder
- 2 teaspoons instant espresso powder
- ⅔ cup boiling water
- ½ cup whole milk
- ½ cup sour cream
- ½ cup vegetable oil
- 2 large eggs
- 1 tablespoon vanilla extract
For the cherry syrup and filling:
- 1½ pounds whole cherries, pitted and halved (about 2½ cups)
- ¼ cup granulated sugar
- ⅓ cup kirsch or cherry juice
For the whipped cream frosting:
- 4 cups cold heavy whipping cream
- ½ cup powdered sugar
- 2 tablespoons kirsch (optional; or 2 teaspoons vanilla extract)
For assembly:
- ½ cup chocolate ganache (optional)
- Chocolate shavings or sprinkles, for garnish
- Fresh whole cherries, for garnish
How to Make It
1. Prep and preheat.
Preheat your oven to 350°F. Grease two 8-inch round cake pans and line the bottoms with parchment. If you have cake strips, soak and wrap them around the pans — they help the layers bake flat instead of doming, which makes the whole assembly process much easier later.
2. Mix the dry ingredients.
In a large bowl, whisk together the flour, sugar, baking soda, baking powder, and salt.
3. Bloom the cocoa.
In a separate bowl, combine the cocoa powder and espresso powder, then slowly whisk in the boiling water until fully dissolved. This step matters more than it looks — blooming the cocoa in hot water pulls out a noticeably deeper chocolate flavor than mixing it in dry.
4. Combine the wet ingredients.
Whisk the milk, sour cream, and oil into the cocoa mixture, then add the eggs and vanilla, whisking until smooth.
5. Bring it together.
Pour the cocoa mixture into the dry ingredients and whisk until fully combined and smooth — the batter will be quite thin, which is exactly right. Divide evenly between your prepared pans.
6. Bake.
Bake for 30–35 minutes, until the tops spring back when pressed lightly and the edges start pulling away from the pan sides. Cool in the pans on a wire rack for 20 minutes, then invert onto the rack, parchment-side down, and let cool completely.
7. Macerate the cherries.
While the cakes cool, stir the cherries, sugar, and kirsch together in a bowl. Cover and let sit for 30–60 minutes, stirring occasionally, then drain the syrup that collects at the bottom. Top it up with a little water or extra kirsch until you have about ⅔ cup total. Set both the cherries and syrup aside.
8. Whip the cream.
Beat the cold cream and powdered sugar on medium speed until it starts to thicken, about a minute. Increase to medium-high and whip to soft peaks, then drizzle in the kirsch and continue until stiff peaks form. Set aside about a cup of the whipped cream in a piping bag for decorating later, and refrigerate it.
9. Slice the layers.
Remove the parchment from the cooled cakes. Using a long serrated knife, slice each cake horizontally in half so you end up with four thinner layers total. If the layers feel too delicate to cut cleanly, freeze them for 20–30 minutes first to firm them up.
10. Assemble.
Place one bottom layer, cut-side up, on your serving plate. Brush with 3–4 tablespoons of the cherry syrup, spread about ¾ cup of whipped cream evenly to the edges, then arrange a third of the cherries on top, cut-side down to avoid gaps. Repeat with the next two layers — cake, syrup, cream, cherries — then finish with the reserved bottom half placed cut-side down, so the smooth flat side faces up.
11. Crumb coat and finish.
Spread the remaining whipped cream over the entire cake in a smooth, even layer. Press chocolate shavings onto the sides and top if you like. For a ganache drip, chill the cake for about 30 minutes first, then pipe the ganache around the top edge and let it run down the sides. Finish with piped whipped cream rosettes and fresh cherries on top. Keep the cake refrigerated until you’re ready to serve.
Why the Details Actually Matter
A few choices in this recipe are doing more work than they look like they are. Blooming the cocoa in boiling water pulls out deeper chocolate flavor than mixing it in dry. Sour cream and oil, rather than butter, keep the cake genuinely moist and soft even chilled, since oil stays liquid at cold temperatures while butter firms up. And using both baking soda and baking powder together helps the layers rise evenly instead of doming in the middle.
Fresh cherries give you the best flavor when they’re in season, but frozen, pre-pitted cherries work well too — just know they’re softer and release more liquid, so they’re better suited for the filling than for decorating the top. If you can’t find kirsch, brandy or another fruity liqueur works as a substitute, or use cherry juice for a non-alcoholic version. you can also try out this Greek Yogurt Cheesecake best for everyday dessert.
Make-Ahead and Storage
This cake actually benefits from a day of resting in the fridge before serving — the layers settle and the flavors deepen. If you’re making it ahead, hold off on the final decoration until closer to serving time so nothing gets disturbed. Store leftovers loosely covered in the fridge for up to 5 days, or freeze the whole cake or individual slices for up to 3 months, thawing in the fridge before serving.Looking for another delicious cheesecake dessert that’s easier to prepare?
Looking for another delicious cheesecake dessert that’s easier to prepare? Try my No Bake Oreo Cheesecake, made with a crunchy Oreo crust and a rich, creamy chocolate filling.
Why This One Is Worth Attempting
What makes Black Forest cake worth the effort isn’t any single difficult step — it’s that each part is simple on its own, and the combination is what creates something genuinely impressive. Once you’ve made it once and understand the rhythm — bake, cool, slice, syrup, cream, cherries, repeat — it stops feeling like a showstopper reserved for professional bakers and starts feeling like something you can genuinely pull off for a real occasion. If you enjoy impressive layered cakes, you may also want to try my Red Velvet Cheesecake Cake, which combines soft red velvet cake with a creamy cheesecake layer and smooth cream cheese frosting.